If you want to know how to go about oiling decking so it won’t peel, fade or look like it was done by a preschooler, then this will be the most important message you read all week…
Here’s what you need to know…
Oiling decking is a simple 5 step process that anyone can do…
And I do mean anyone…
Well, anyone who knows these 5 steps, that is…
How about I list out the 5 steps for you right now…
I’m going to assume you have stripped your deck back, cleaned it up and now it’s ready for a couple of coats of the finest deck oil…
You have?
Awesome!!
Ok, well here’s the 5 steps…
Want to See These Deck Staining Techniques in Action?
Check out my step by step videos and guide by Clicking Here…

The 5 steps to oiling decking…
- Start by cutting in along the edges but not the ends…
- Oil 2 boards at a time…
- Use the Brush on, Brush off Technique…
- Allow your deck to dry between coats…
- Allow deck oil to cure for 7 days before having a party…
That’s all there is to it…
What I’m gonna do for you is go into each step in more detail so you know exactly how to do it…
But before I do, let’s make sure you have all the right tools for the job…
Sound good?
Excellent, let’s get into it…
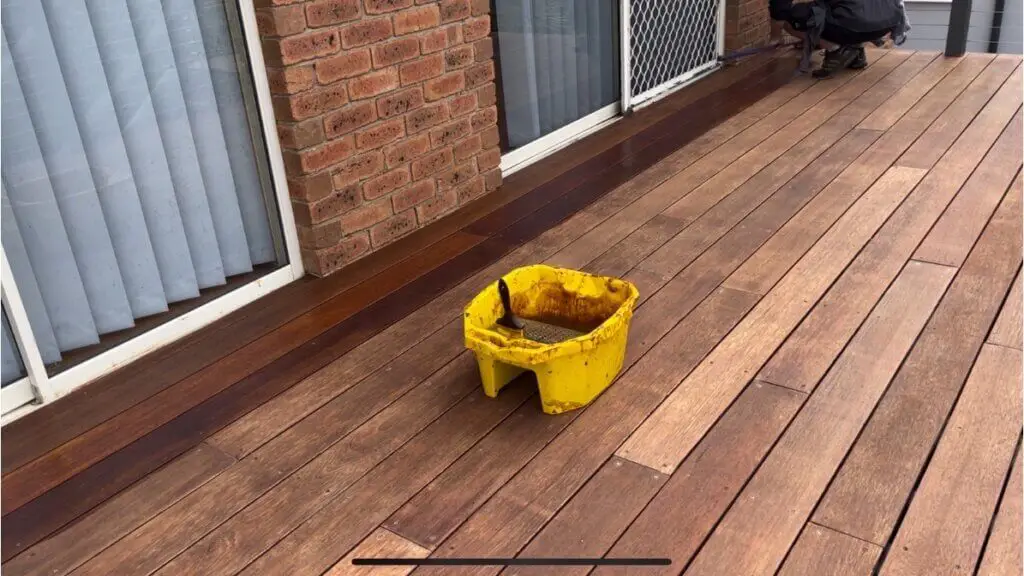
The tools needed for oiling decking…
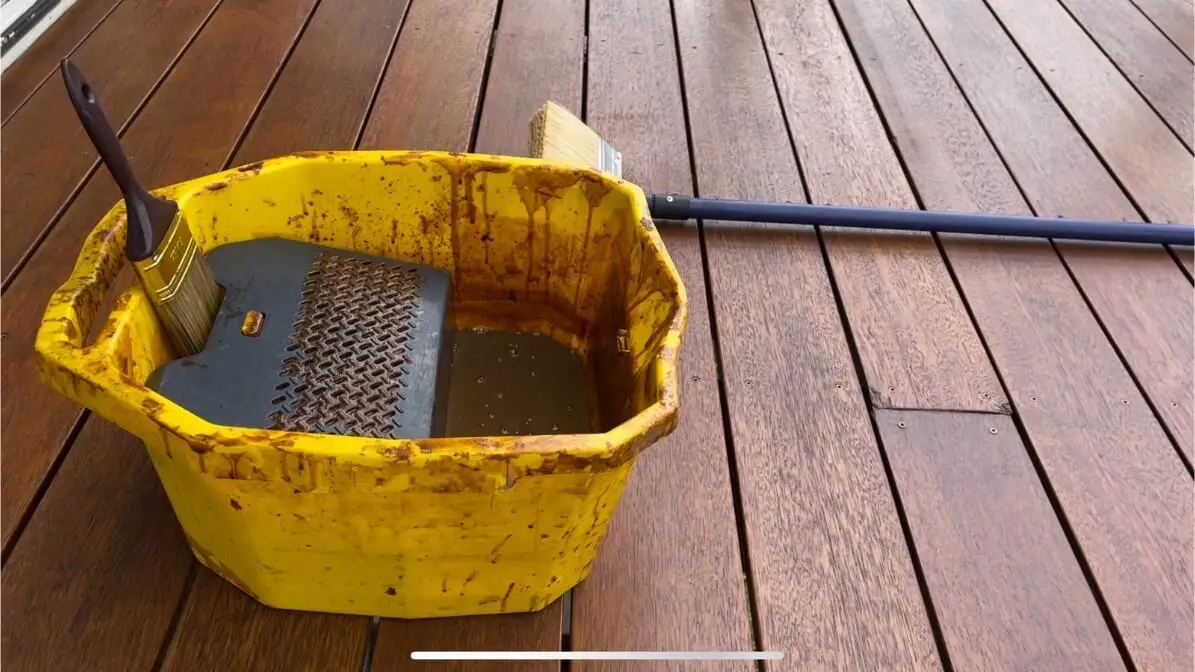
- Deck brush applicator
- Paint brush
- Deck oil bucket
- Rags
- Paint stirrer
- The Brush on, Brush off Technique Deck Staining Course…
If you need a little more information, click the link on each one and I’ll break them down for you…
I’ll show you my own personal recommendations…
But make sure you come back here, I’ve still got so much to show you…
You know, like the materials you need for the job…
Speaking of which…
If you make these mistakes, your deck could peel…
Click here to find out how to avoid the Dreaded Peeling Deck!

The materials you need when oiling a deck…
- High quality oil based decking oil…
- Or…
- High quality water based decking oil…
- Uhmmm, it’s either one or the other and that’s about it…
Again, I’ve got my own recommendations so if you click the link, I’ll show what they are…
Now that you’ve got all of your tools and you’ve got yourself some of the deck oil that I recommend, now I can show you each of the 5 steps in more detail…
Giddyup…
How to Oil a Deck Step by Step…
Now this is where all the action begins…
This is the meat ‘n’ potatoes of the whole operation…
This is what you came for…
So without further adieu, here’s the 5 steps in all their glorious detail…
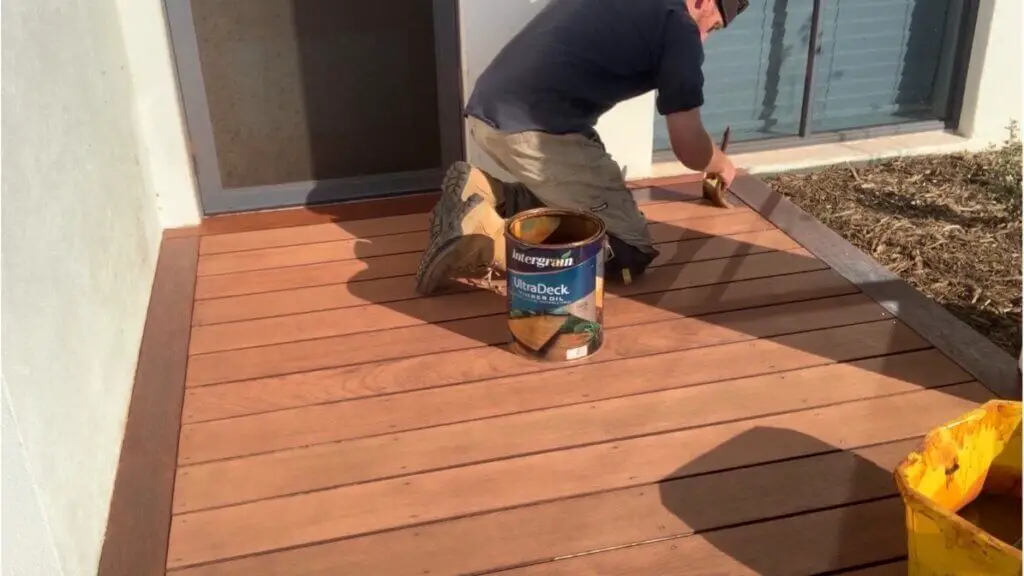
1. Start by cutting in along the edges but not the ends…
This is what I mean when I say cut in along the boards…
And when I say don’t cut in the ends, these are the ends…
Does that make sense?
The reason you don’t cut in the ends of the boards is because it goes against the number 1 rule of oiling decking…
Come to think of it, it might be rule number 2 but either way, it’s a pretty important rule…
And that is to only cut in 2 boards at a time and oil along the entire length of those 2 boards before moving onto the next 2…
I know this goes against everything you know about painting where you cut in all the edges then you pain, but this isn’t painting…
It’s oiling…
And oiling a deck is very different to painting a deck…
If you cut in all the ends of the boards, you’ll have lap marks that will only get worse over time…
You’ll never get rid of these lao marks and they’ll haunt you every time you step foot onto your deck…
Put it this way, if you want your deck to look like it was done by a thousand dollar professional, then follow what I say…
Even if every morsel of your being is screaming at you to cut in the end to save time…
Just do as I say…
I won’t tell you again!!
Now hand me that paint brush…
NO, give it to me…
Ok, now finish those 2 boards and then you get your paint brush back…
Moving on…
How to Sand a Deck Step by Step…
Warning! Don’t sand your deck until you see this…
Click Here…

2. Oil 2 boards at a time…
I kinda spoiled this one because I already mentioned it in the first step, but it’s worth mentioning again…
Only ever oil 2 deck boards at a time…
Cut them in, oil all the way to the other end of the boards, cut in at the other end and then come back to the start and do the same with the next 2 boards…
You do this 2 board oiling until you have oiled every board on your deck…
Now, if you have narrow boards that are around 90mm wide then you are allowed to oil 3 boards at a time instead of 2…
You see, the deck brush that you used will usually cover 2 and a half of these narrow boards…
So the 3rd board will only get oil half way across the board…
You can’t leave this 3rd board half oiled, can you??
No, that would be insane…
All you do is oil that 3rd board at the same time…
So, if you have wider 140mm boards, stick with oiling 2 boards at a time…
If you have narrower decking boards, oil 3 boards at a time…
Capish??
Perfect…
Now we’re ready for step 3…
3. Use the Brush on, Brush off Technique when oiling decking…
Now, this might just be the most important rule when oiling a deck…
I know, I know…
Every rule is so dang important…
But the truth is, each step is so important…
Oiling a deck is soooo, so easy…
But you need to follow the rules to a tee…
You need to be militant about this…
Have fun…
But be militant…
Ok, so like the heading already stated, you want to make sure you’re applying your deck oil by implementing my infamous “Brush on, Brush off Technique…
The simplified version of this is you brush the oil on and then you finish by brushing it off again…
When you do it the way that I do, you always get the perfect amount of oil on your deck…
You don’t get lap marks…
And you never get that “Sticky Deck Situation” that so many people get when they oil a deck…
You’ll actually find that when you do this using my fancy little technique, your deck won’t even be sticky merely an hour after oiling it…
Yup…
I do this all day every day and the decks that I oil are never sticky…
The other minor little benefit to applying this technique is that you’ll only ever be laying down as much oil as your deck needs…
This is so important because one of the main causes of a deck that peels and flakes is excess oil being applied to the surface of the deck…
And any oil that isn’t absorbed by your deck boards, will sit on the surface just like a skin…
Then when you walk on it, that skin will simply peel off…
Hence the dreaded peeling deck…
But this won’t happen to you will it?
No, because you;’re going to employ the Brush on, Brush off Technique, aren’t you??
Excellent, now you’re ready for the next step…
4. Allow your deck to dry between coats…
Oiling your deck is a simple step by step process…
And the next step in the process is making sure you give your deck oil time to dry between coats…
I know how tempting it is to rush and apply the second and third coats right away…
You need it done right?
It’s been 2 hours, it feels dry…
Surely it won’t hurt to apply the second coat a little early…
What’s the difference??
How do I put this???
FOLLOW THE PROCESS!!
Do not…
I repeat…
Do Not rush in and oil your deck before it has had time to dry properly…
Everyone is always in a rush…
I go down to Bunnings and drivers try to run me over in the car park because they can’t wait 30 seconds for me to cross the road…
So I implore you to take your time and do this properly…
Are you listening to me??
Lean in…
It’s ok, I’m not going to hurt you…
Lean right in…
I wanna tell you something very important and I want to make sure you hear what I’m saying…
If you grab your tin of deck oil, right?
Turn it around to the back where it has all that boring mumbo jumbo…
Now look for something that says “Time between coats” or “Recoat” …
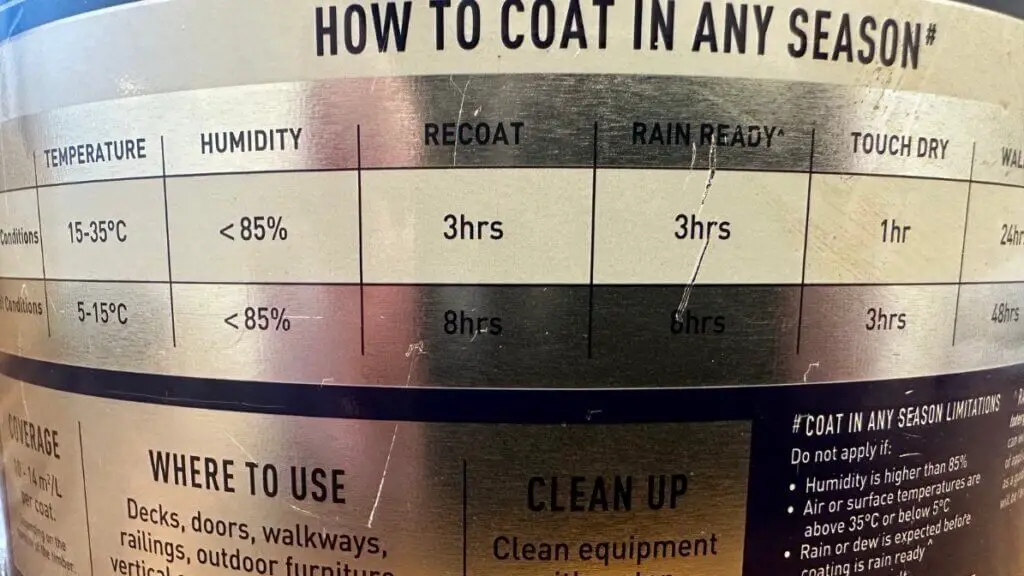
See this example above says 3 hours between coats…
Your deck oil might say 4 hours if it’s water based…
Or it could say 24 to 48 hours if it’s oil based…
But whatever you do, it’s extremely critical that you follow the drying time that is listed on your decking oil…
If you apply your oil while your deck stain is still wet, then you’ll be flooding your decking boards with way too much oil…
And this leads to a very unhappy deck…
Do you know what happens when a deck gets unhappy?
He gets sticky
And he’ll be sticky for weeks…
You’ll be left there wondering why your deck is still so sticky after 2 weeks..
Then you’ll waste all of your time, searching the internet trying to work out how to fix your sticky deck…
When all you had to do was wait a few hours and all of this stickiness could have been avoided…
I’ve gone on waaay too long about sticky decks, so I’ll move on…
5. Allow your deck oil to cure for 7 days before having a party…
Look, I know you’ve got a party coming up…
That’s why you wanted to oil your decking in the first place…
Here’s the thing…
You need to wait at least 7 days for your decking oil to cure properly before you put any furniture back on it…
Which means you definitely can’t have any parties on your deck within the first 7 days…
So make sure you plan this out right and give yourself at least 7 days before you invite people around to scratch up your deck…
Looky here, if you wait only 2 or 3 days after oiling a deck, the oil will be dry but it won’t be cured…
Which means it will be weak…
And a weak deck oil is easy to scratch…
When you drag furniture across a deck that was just oiled, it will actually cut through to the timber…
Do you know what happens next?
Those scratches allow the rain to get into your deck timber…
The timber turns grey and the oil coating starts to look blotchy…
The only way to fix this is to sand it off and start again…
So please, for the love of Zues, give your deck a fighting chance and wait the 7 days…
Now promise me you’ll wait…
You will??
Goodie…
And with that, you’ve made it through all 5 steps…
Now you should be a deck oiling ninja…
You now know everything there is to know about oiling decking…
Your deck will reward you with a deck that looks fantastic…
And a deck that will last forever!!
Well, the thing is…
No matter how well you do at oiling your decking, it will most likely only last 1 or 2 years…
If you do want it to last for years to come, there’s something else you need to know…
The most important part of oiling a deck is…
Deck maintenance…
You see, deck oil does a fantastic job of protecting your decking boards, but who’s protecting your decking oil??
Uhhmmm, that would be you…
So if you do want your deck oil to last 5 to 10 years instead of 1 year, you must do your annual decking maintenance…
That is, every 6 to 12 months, you need to scrub and clean your deck…
Then you need to get into re oiling your deck…
Don’t worry, it’s so basic…
All you need to do is…
Click over to my guide on decking maintenance…
Go on, click over…
I’ll show you everything you need to know about re oiling decking…
And with that, now we’ve come to the end of our session…
Go forth and get to oiling your deck…
You have everything you need, just follow along and you’ll do great…
You got this…
I’ll see you in our next decking adventure…
Peace,
Jason…
Need some Expert Advice?
If you’ve been searching the internet trying to find an answer to a specific deck problem and you’ve found it impossible to get a straight answer…
Why not just reach out and ask me directly for an answer?
I’ve got 10 years of deck knowledge crammed into my noggin. I can pretty much guarantee I’ve got an answer to your problem just rattling around in there…
Click the button below to find out more…
But what about preparing the deck to oil especially if it was stained previously?
Hey Matthew, the end of my post links out to an article on deck maintenance. These are the steps you need to take to oil a previously oiled deck. Here’s the link: https://deckrestorationco.com.au/how-to-do-deck-maintenance/
That post is if your coating is in good condition. If it’s not then you’ll need to strip it back. Try this post here: https://deckrestorationco.com.au/how-to-strip-decking-back-to-bare-wood/
Hope that helps