If you want to know how to stain a deck, then the best way to do it is with a deck brush applicator and simple brush on, brush off strokes to make sure you apply an even coat with just the right amount of deck stain…
This decking staining guide will show you how in 9 simple steps…
- Select the best tools for deck staining
- Prepare your deck properly…
- Sand your deck if needed…
- Scrub and clean with a deck cleaner followed with a brightener…
- Cover and protect surrounding areas
- Make sure your deck is dry
- Cut in along the edges first…
- Stain your deck using a deck brush and The Brush on, Brush off Technique…
- Apply 1 to 3 coats of deck stain based on manufacturers recommendation…
1. Select the right tools for deck staining
Deck Staining Tools
- Deck Stain Bucket
- Deck brush applicator
- Paint brush
- Knee pads
- Paint stirrer
Materials
- Deck Stain
- Rags
- Drop cloth
That’s all the tools you need…
Now we’re ready for the actual techniques…
2. Prepare your deck properly
Make sure to remove any pot plants, BBQ’s and furniture from your deck.
Next, make sure to sweep or use a leaf blower to remove any dirt, debris and leaves from your decking.
Don’t forget to replace any rotten or damaged boards and punch down any nails that are sitting up and out of the decking boards.
3. Sand your deck if needed…
If there’s old stain that is peeling or faded, now is the time to sand your deck. Start with 36 to 40 grit sandpaper to remove the old stain and then follow up with 80 grit sandpaper to smooth the surface. Never sand a deck smoother than 80 grit. It makes it harder for the stain to penetrate the timber…
You can read my guide on sanding your decking…
If you don’t need to sand or if you just finished sanding, the next step is to clean your deck…
4. Scrub and clean with a deck cleaner followed with a brightener…
Scrubbing your deck with a deck cleaner is critically important…
If you think you can get away with a bucket of dish soap and a quick hose down, you’ve got another thing coming…
If you have any type of mould or contaminants growing in the grain of your wood deck, then dish soap ain’t gonna cut it…
You’ll stain right over them and trap them underneath your deck stain…
You’ll know you have a nasty stain destroying mould trapped under your stain when you see something like this…
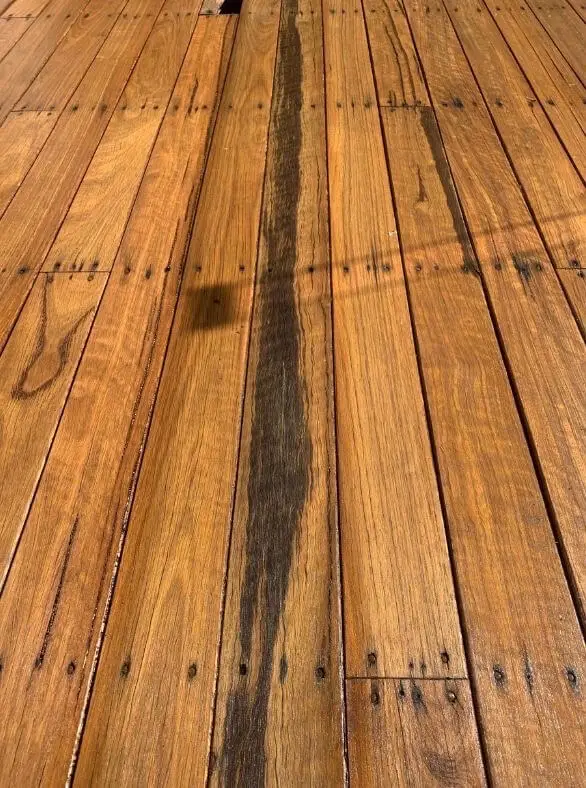
But if you stain your deck with a solid stain, you won’t see this ugly black streaks ruining you stain…
No, but your deck stain will peel off and you’ll have no idea why…
Trust me, it’s best to always scrub and clean your deck with a deck cleaner…
Because, wouldn’t ya know it…
The right deck cleaner will actually kill any mould that’s lurking on your deck…
Never skip this step!!
The downside is, a deck cleaner will actually turn your deck a dark dull colour…
That’s why I say you always need to follow up a deck cleaner with a deck brightener…
The brightener will brighten your deck and bring back the natural colour…
If this seems like a lot of work, think about how much work it will be if you have to strip your deck off and start again just because you didn’t want to clean it properly…
And, if I’m being honest, it’s not that hard…
The process you use to clean your deck is the exact same process you use to brighten your deck…
So with that said, here’s what you need to do…
Mix the cleaner into a bucket and dilute with water at a ratio of 1 part deck cleaner to 4 parts water…
Or follow the dilution instructions on the back of the container…
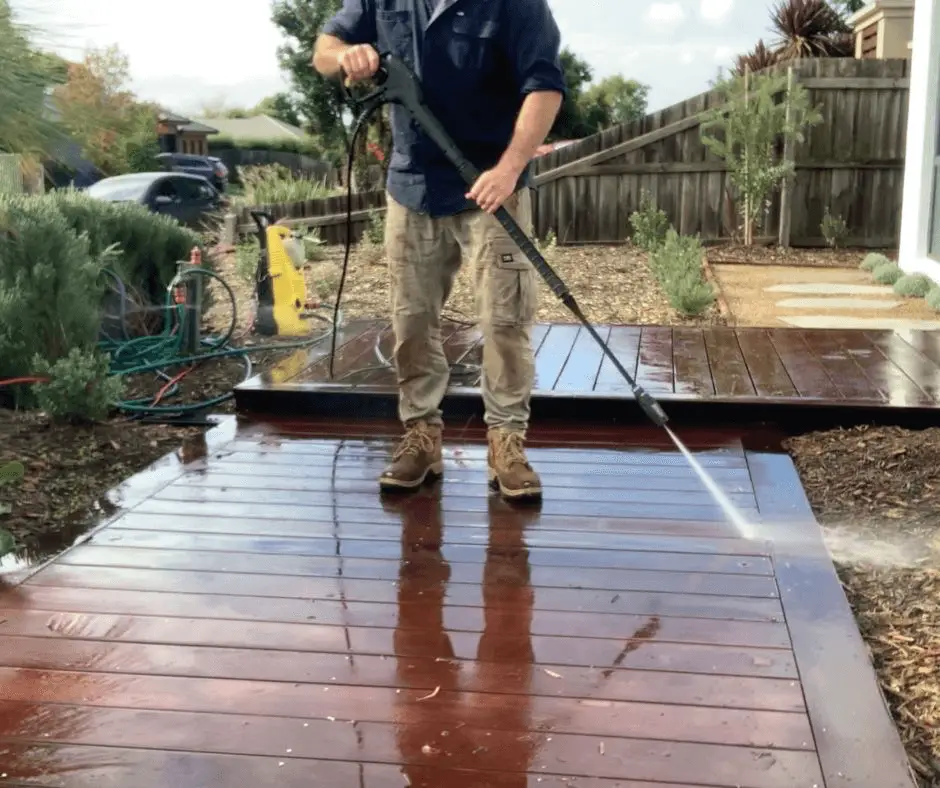
Then use a deck scrub brush and work the deck cleaner into the deck boards…

Leave for 15 minutes then rinse off with a pressure cleaner…
Actually, you can clean your deck even if you don’t have a pressure washer…
That’s pretty much all their is to it…
The next step is to do this exact same process with a deck brightener…
It is literally the exact same steps as the deck cleaner…
If you want a full, in-depth breakdown on the deck cleaning process, click here…
5. Cover and protect surrounding areas…
Once your deck is completely dry, now you can protect surrounding areas such as plants with drop clothes and tape off along the side of your home or any areas you don’t want to stain…
Now you’re ready to apply your first coat of stain…
6. Make sure your deck is dry…
Make sure you never apply deck stain to a damp deck unless your stain is designed to be applied to damp timber…
Even if your selected deck stain can be applied to damp timber, it’s still not the best way to stain your deck…
Applying deck stain to a damp deck is one of the most common reasons why your deck stain will peel…
But there’s a really easy way to ensure that your deck is dry enough to stain…
Use a moisture reader on your deck boards and make sure the reading is less than 15% moisture before you stain.
You can use this pin less moisture reader to make sure your deck is dry enough to absorb the stain
When the moisture reading is at 15% or less, your deck will be dry enough to stain and you will have a greater chance of having a deck stain that won’t peel in 6 months time…
Now it’s time to cut in…
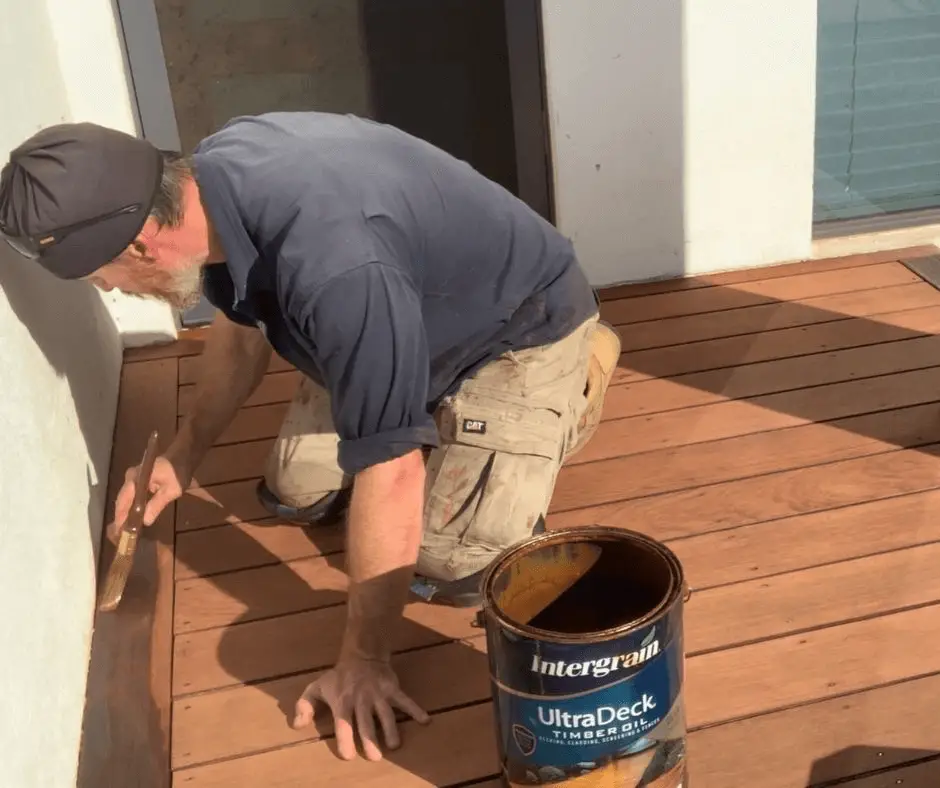
7. Cut in along the edges first…
Start by cutting in the boards that are touching your home or any other surface…
WARNING!!
Never cut in a board without staining that whole board…
In other words, if you cut in a decking board, you now need to stain that whole board before you move onto another board…
The best way to do it is to cut in 2 boards at a time and then oil those 2 boards completely with the deck brush before you move onto the next 2…
Make sense?
If you cut in a bunch of boards at the one time then come back to stain them, you’ll get nasty looking lap marks
Don’t do it…
I’m serious…
I’ve had employees go through training with me and get shown how to do it properly…
Then when I’m there they apply the stain 2 boards at a time but when I leave they cut in the remainder of the boards and leave nasty lap marks…
Let’s just say that these guys don’t work for me anymore…
This is your deck and you have to look at it every day…
Trust me when I say that you must only cut in 2 boards at a time and stain those boards completely along their full length straight away…
Then move onto the next 2 boards…
You’ll get a perfect finish like this…
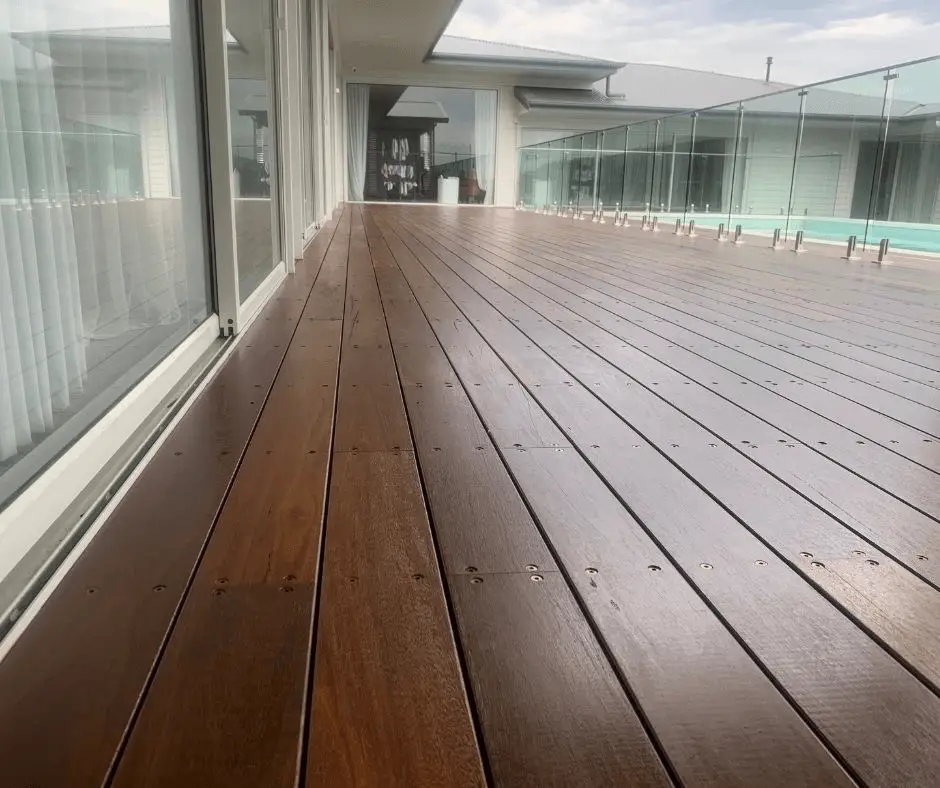
Take your time and do it right…
People won’t believe you could get your deck stain so flawless…
Trust me…
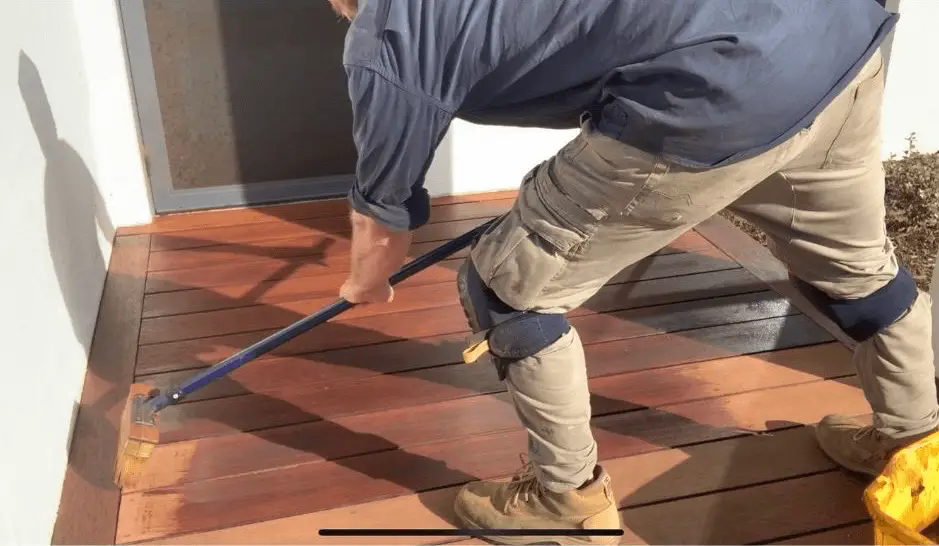
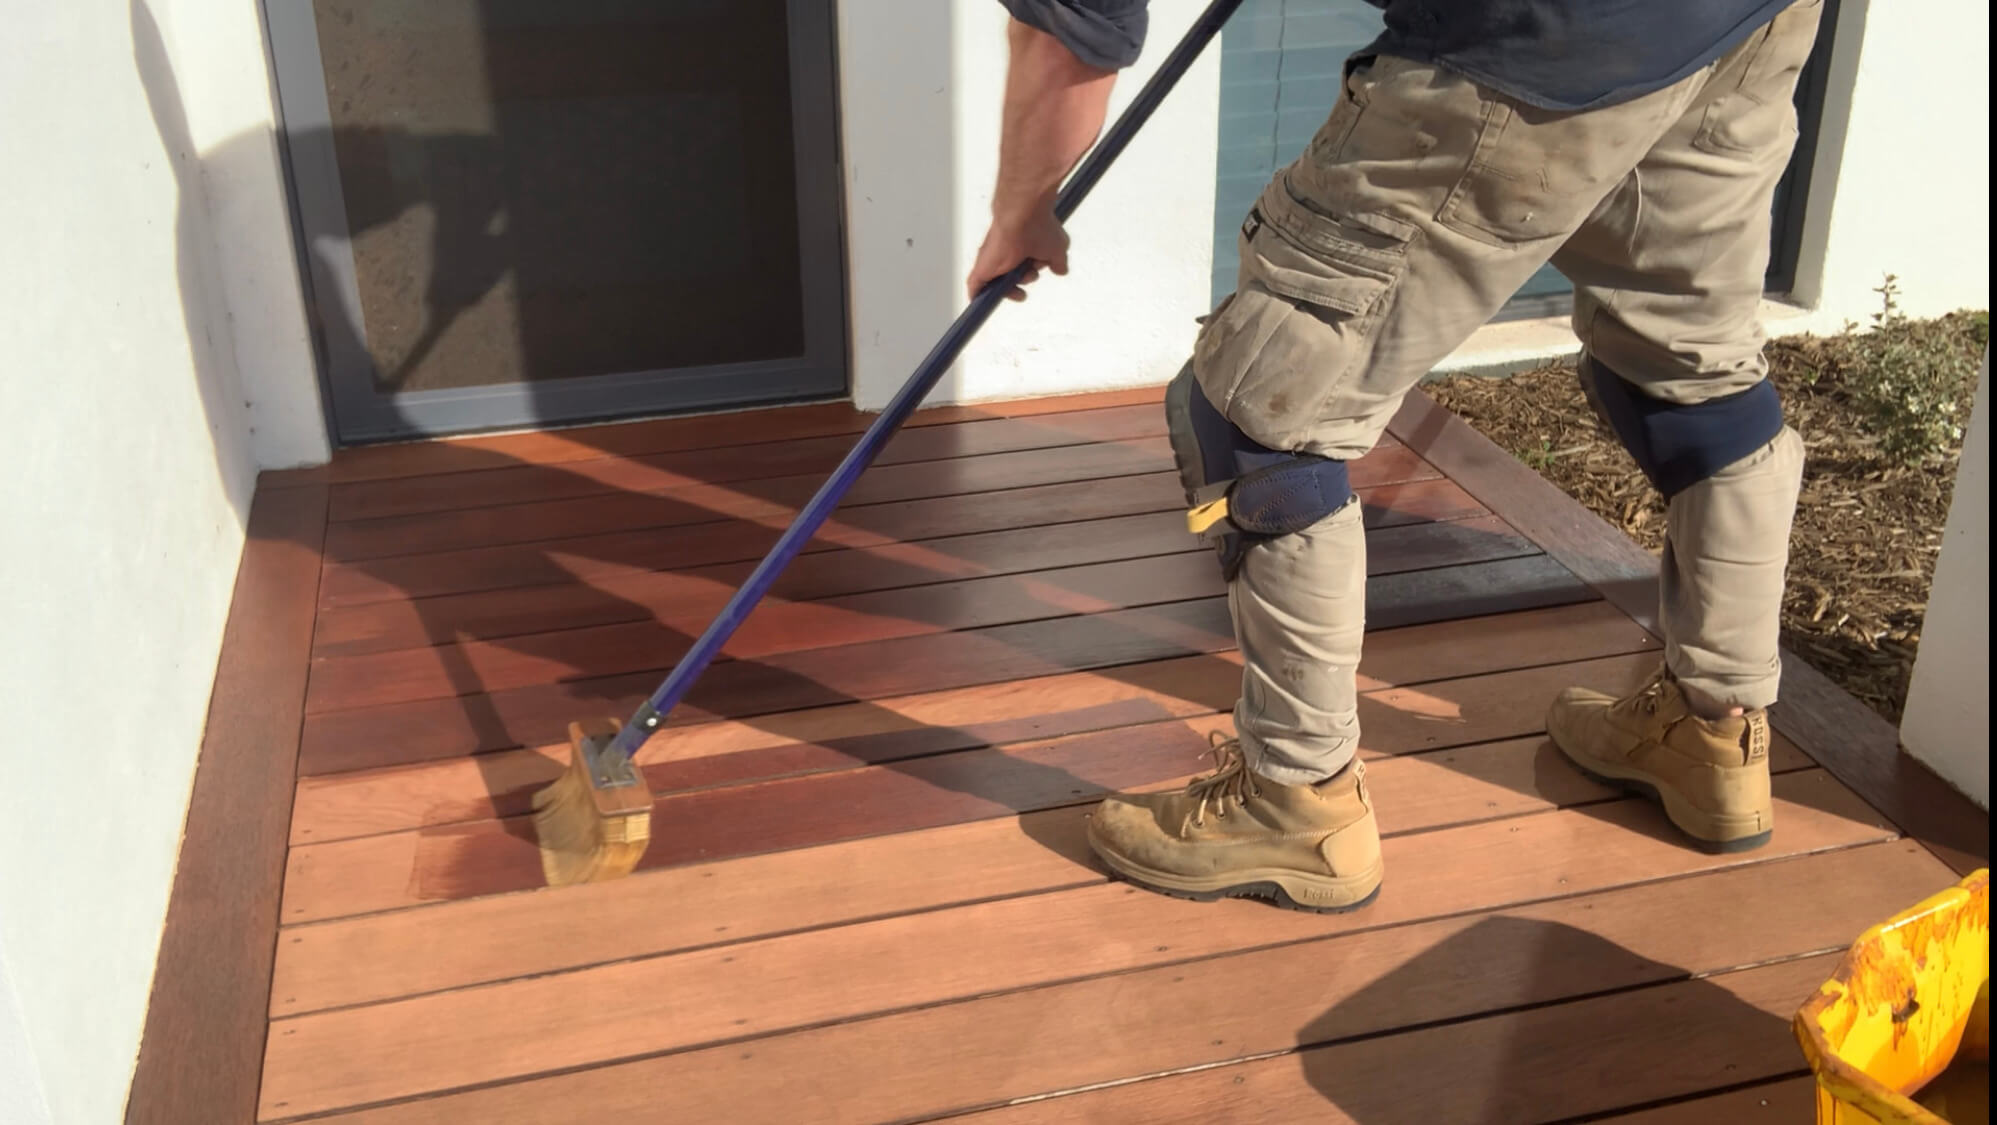
8. Stain your deck using a deck brush and The Brush on, Brush off Technique…
One of the problems with deck stains that peel off is because the stain has been put on too thick…
That’s why I always use a deck applicator and I use the “Brush on, Brush off Technique”…
Remember, you do 2 boards at the same time…
Now you want to make sure you don’t apply too much stain or it will peel off…
If you apply too much stain you run the risk of the stain drying on the surface before it’s had a chance to absorb into the deck properly…
If this happens, the stain will sit on the surface and eventually peel off…
But at the same time, you want to make sure you apply enough stain so your deck is protected properly…
That’s why you need to know how to do the Brush on, Brush off Technique…
It allows you to apply just the right amount of stain and remove the excess that would normally sit on the surface and peel off…
I know it sound complex but it’s really simple to do…
You just need to see it for yourself…
I’ve actually put together a short course where I show you how to do The Brush on, Brush off Technique, step by step…
If you wanna see it, my guide will tell you what you need to know…
Once you know how to apply the stain, you’re ready for step 9…
9. Apply 1 to 3 coats of deck stain based on manufacturers recommendation…
Once your stain is dry, go back and apply a second coat exactly the same way you did the first…
After you’ve done that, your decking will look fantastic…
The second coat of stain really makes a difference…
But I wouldn’t stop there…
I’ve found that a deck with only 2 coats of stain will only last 6 to 12 months if you’re lucky…
That’s why I always recommend applying a 3rd coat of stain…
It will look the same as 2 coats but will last 18 months…
Remember to clean and recoat at 12 months before any peeling or fading occurs…
Make sure you always stain your deck the exact way I’ve described above…
If you cheat on any coat, you’ll see it…
With all that said…
Make sure you follow the manufactures recommendations when it comes to applying coats of stain…
Some oil based stains only recommend 1 coat…
Other water based companies recommend 2 coats but only if you can apply them wet on wet…
That means that the second coat needs to be applied while the first coat is still wet…
If your deck can apply wet on wet then only apply 1 coat of stain…
If you manage to apply the second coat wet on wet then only apply 1 coat of stain…
The manufacturer’s recommendation always trumps what I say…
Got it??
And that my fine friend, is how to stain a deck…
Well there you have it…
But before you go…
I’ve got something you need to see…
Staining your deck is not a hard thing to do, but it is a step by step process…
And you need to do it the right way…
Because there’s so many thing you can do that will cause your deck stain to peel off…
And let’s be honest, you don’t want to be doing this again any time soon…
So if you want to make sure that you’re staining your deck the right way, you should check out my latest book…
It’s all about the mistakes people make that cause their deck stain to peel off within the first 6 months…
The whole idea of this book is to show you what not to do, so you don’t make the mistakes…
Staining your deck the right way is more about what you didn’t do just as much as what you did do…
So I simply tell you, if your deck looks like this, don’t stain it…
Or if you see this, don’t stain your deck until you do this…
It’s t really that simple…
So, if you don’t want your deck stain to peel off because of some silly mistake, grab yourself a copy of the guide by clicking this link here and I’ll tell you everything you need to know…
That’s all I’ve got for you right now on staining a deck.
If there’s something that you want to know that I haven’t covered here, then leave me a comment below and I’ll see if I can help you.
I thank you for taking the time to read my guide.
I wish you all the best with your deck restoration.
Sincerely,
Jason
FAQ’s
The best way to apply stain to a deck is to apply 1 to 3 thin coats of stain with a Deck Brush Applicator and a paint brush. Apply each coat by using the brush on, brush off technique…
2 coats of stain is the minimum you should put on a deck unless you’re using an oil based deck stain. I recommend putting 2 to 3 coats of stain on your deck for water based and 1 to 2 coats if you’re using oil based stain…
The best way to prepare your deck before staining is to remove all dirt and grime by scrubbing with a deck cleaner and washing down with a pressure washer. If the old stain is peeling then you should sand it off before you stain your deck…
It is always better to use a deck brush rather than a paint roller. The deck brush allows you to apply the right amount of deck stain to your deck…
0 Comments